
Editing is fun, but only when it’s not lagging every single time you try to playback a clip in Adobe Premiere! Especially when you have 4K footages or working on clips with a heavy codec like ProRes.
What are Proxies?
Proxies are the low-resolution version of your video clips in your timeline. A low-res file can render faster and will speed up your whole editing process, especially when you’re working with 4K footages, heavier codec like ProRes or uncompressed video.
h.264 offers a high compression ratio, and therefore the files are small in sie that use less space on your storage devices. Limited Colours – h.264 is an 8-bit code. This means, as compared to ProRes, h.264 files have fewer colour grading options whilte working with post-production software.
https://videoconverter.wondershare.com/convert-fcp/prores-vs-h264.html

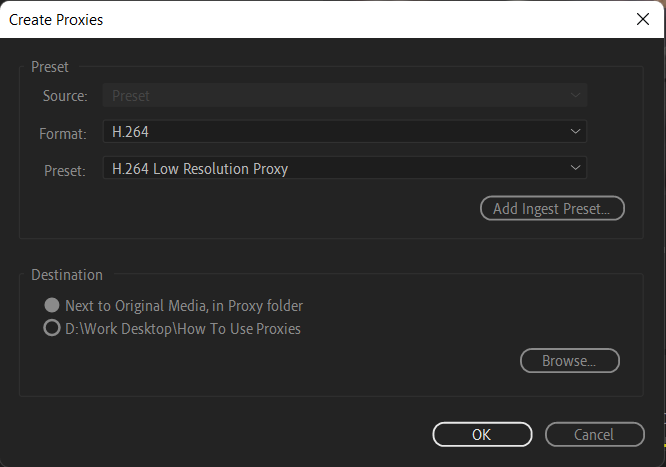
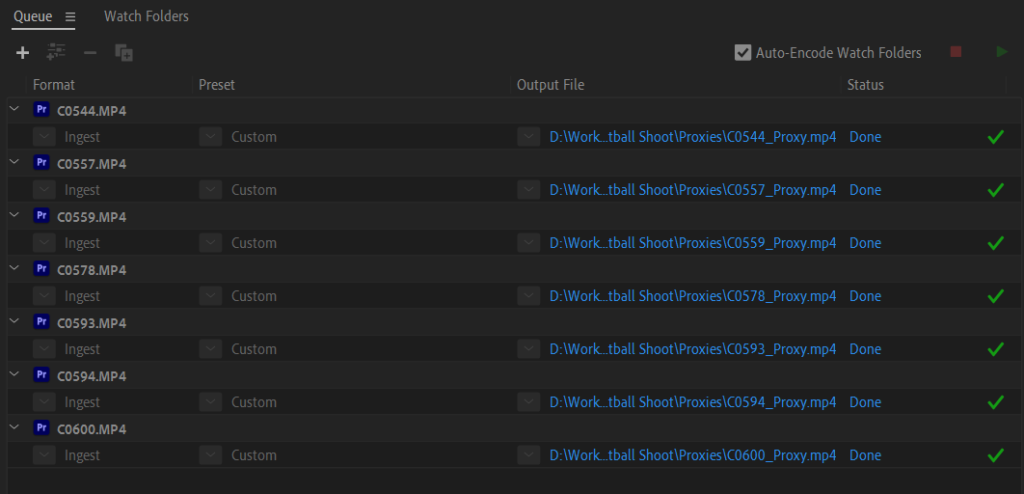
You have now successfully set up your proxies for your project.
Please do take note that, while you are working in Proxy mode, you won’t be able to preview some effects that you have applied to your clip, for example, Warp Stabiliser is one of them because Warp Stabiliser relies on the original resolution to do its calculation.
(With the proxies you have rendered, you can use it In After Effects as well. Just right click your footages, ‘Set Proxy’ and assign the proxy files.)