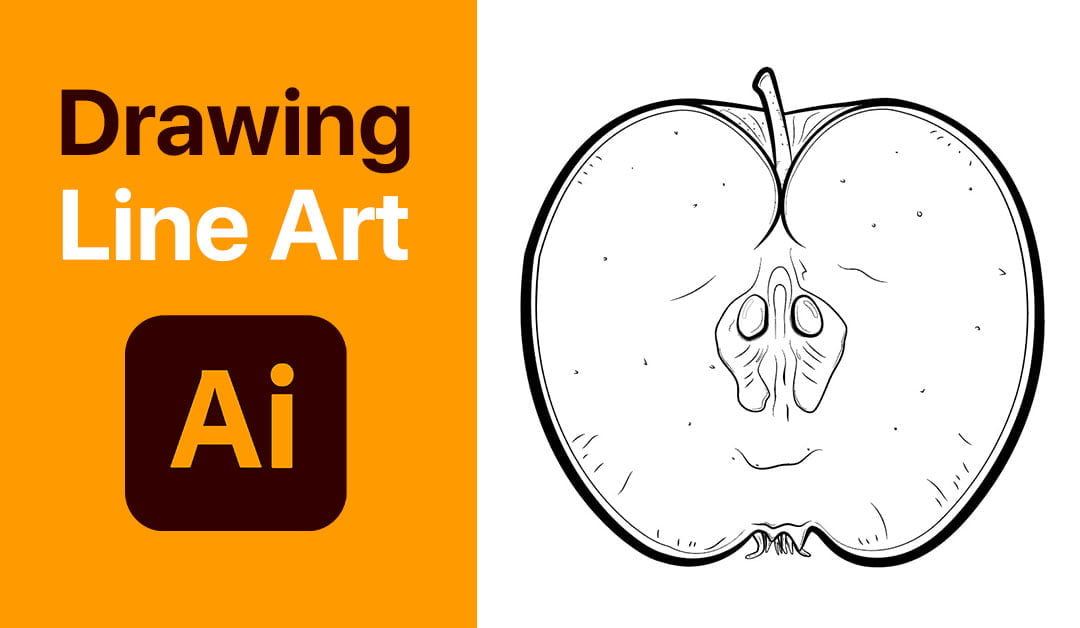
Here are three simple steps on how to draw line art on Adobe Illustrator using Pen Tool for beginners. The following technique can be used on almost any kind of food or object. Fruit, vegetable, pie, bottle, fork, mug, etc.
Here’s an example from one of my students.
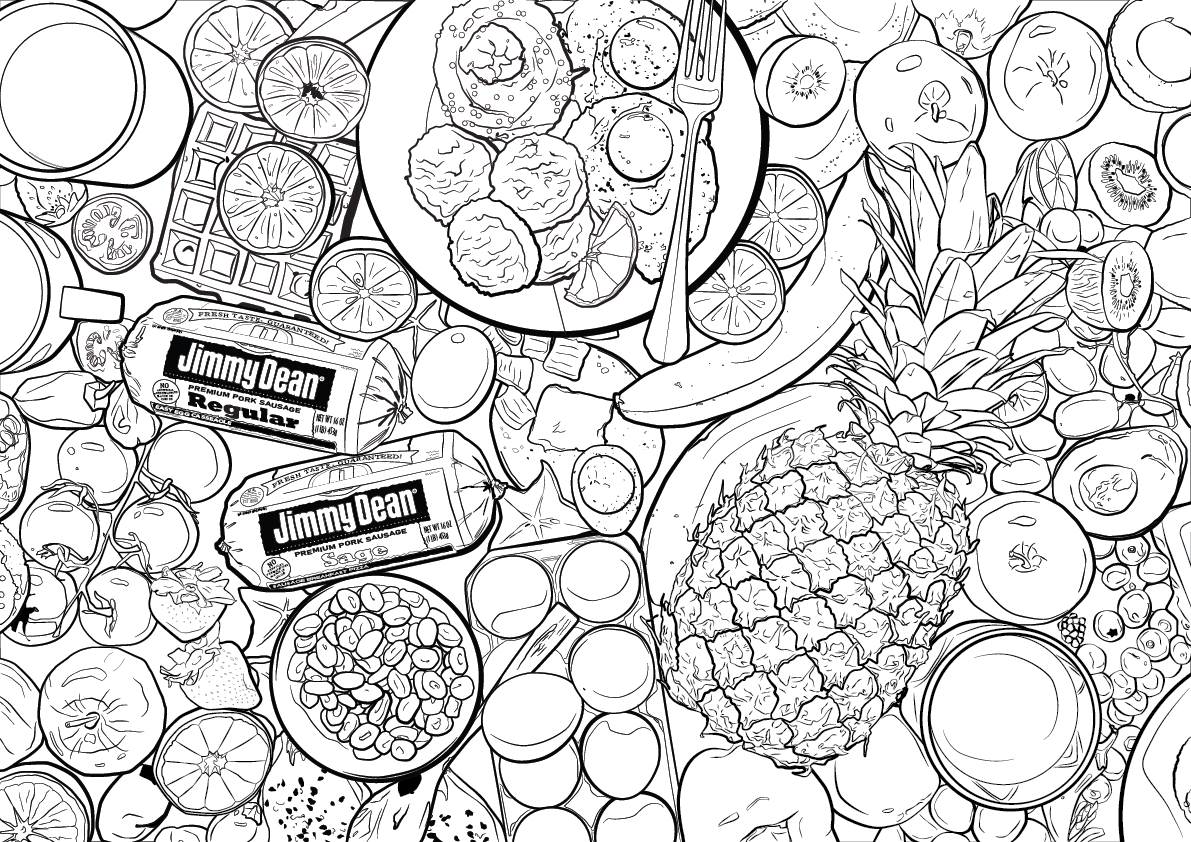

Do check out the rest of the great vector artwork produced by my Year 1, Semester 1 students.
Step 1. Draw the main outline of the object as detailed as possible.
For this practice, we will be using an image reference of a sliced apple and and produce the Line Art using Pen Tool.
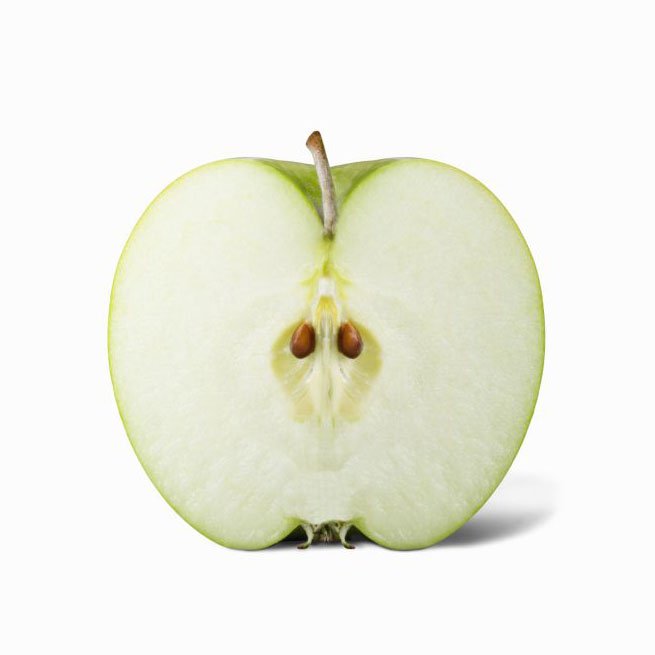
Study the image and ask yourself whether it should be separated into a few parts or not.
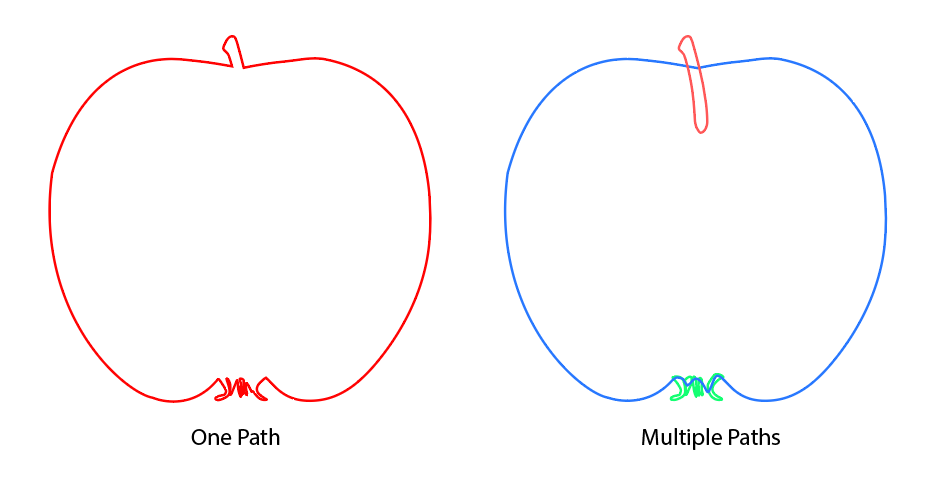
For example, instead of drawing the entire outline with one single path, you should separate the main body, stem and the bottom part into multiple paths. This is so that it’s easier for us to adjust the Width of each parts individually in the next step.
Step 2. Adjust stroke thickness using Width Tool (Shift + W).
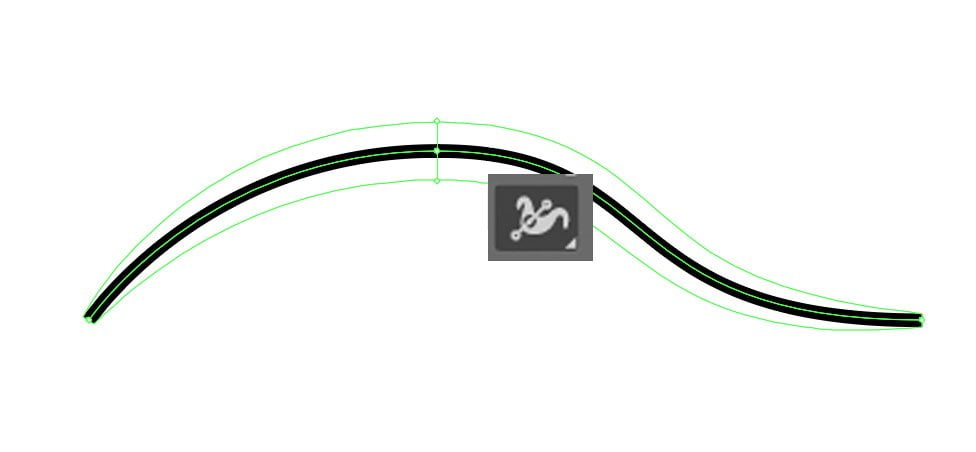
With the help of Width Tool, you can very easily create different width size along your stroke, which can help you visualise the depth of the object.
You may ask which side of the stroke should be thicker? You can decide based on two factors.
1) Make the stroke thicker on the side of the object that seems closer to the camera OR
2) Make the stroke thicker on the side of the object that has a shadow underneath.
3) Use different stroke widths to separate objects that are stacked on top each other, so that that don’t blend in together.
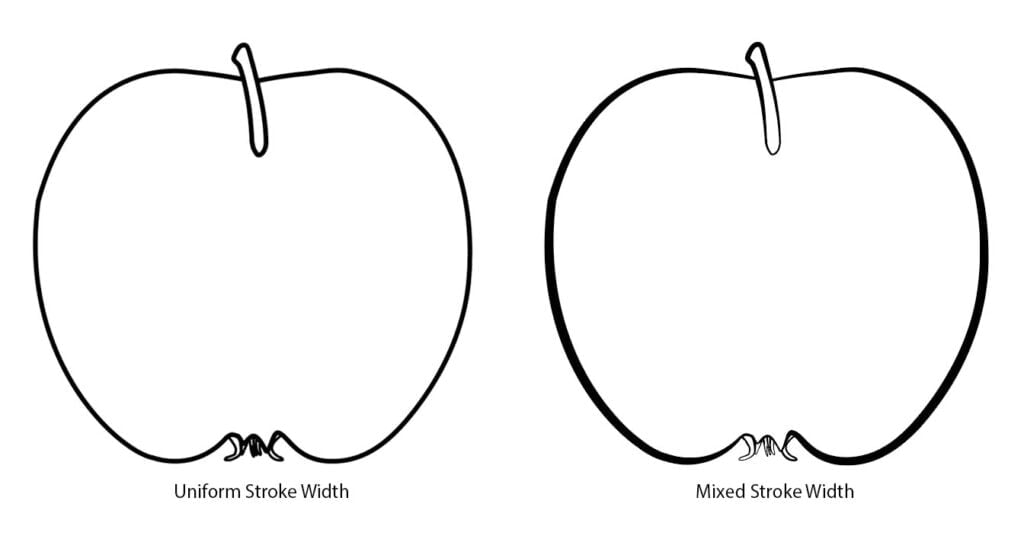
Once you’re done, your object should look less flat. I filled the solid with white fill to hide the overlapping lines.
Step 3. Capture the details of the object.
When it comes to details, we must always remember two important elements, Form & Texture.
Form – Is it round, curved? It is folded? Does it have a hole in the middle?
Texture – Is the object shiny? Smooth? Or has an uneven rough surface?
While drawing our details, we have to observe the Tonal Value (Highlights, Midtone & Shadow) of the object to give us the information of its Form & Texture.
Starting with the most obvious detail you can see.
a) Analyse the object, ask yourself, what makes the object looks curve to you? Is it the way the highlight is formed? Or is it the way the shadow curved on the object?
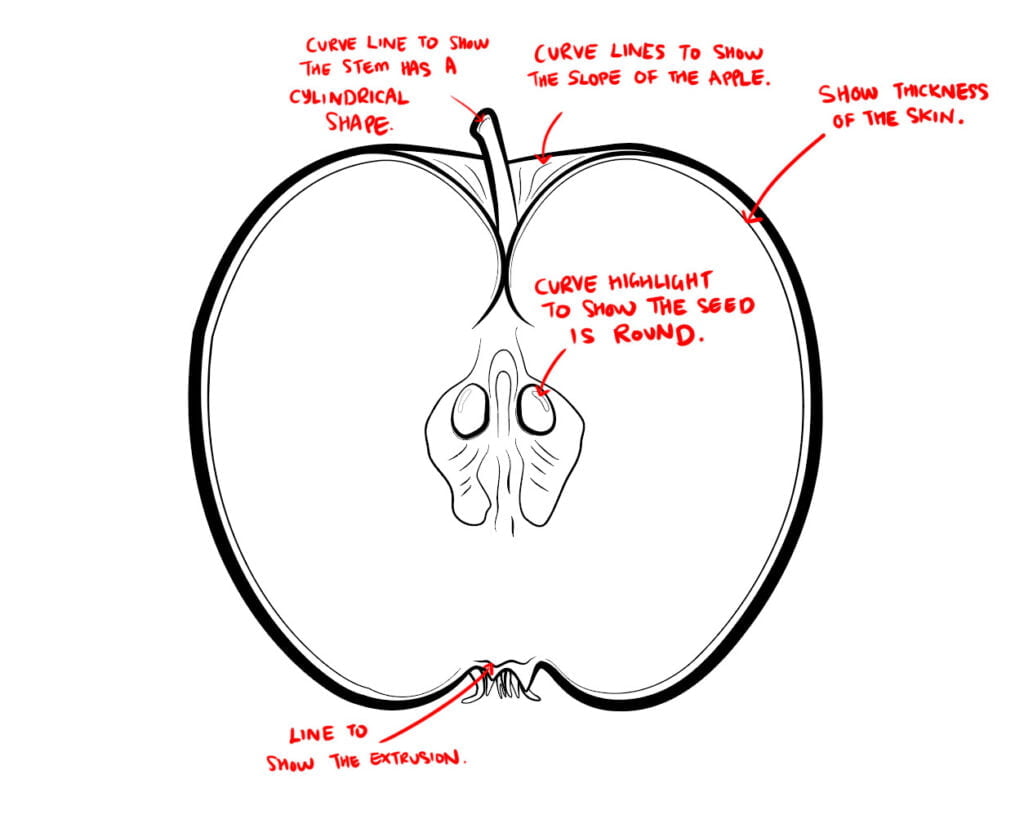
b) Capture & simplify the details. Simplify complicated details by using just lines instead of blocking out the entire shape.
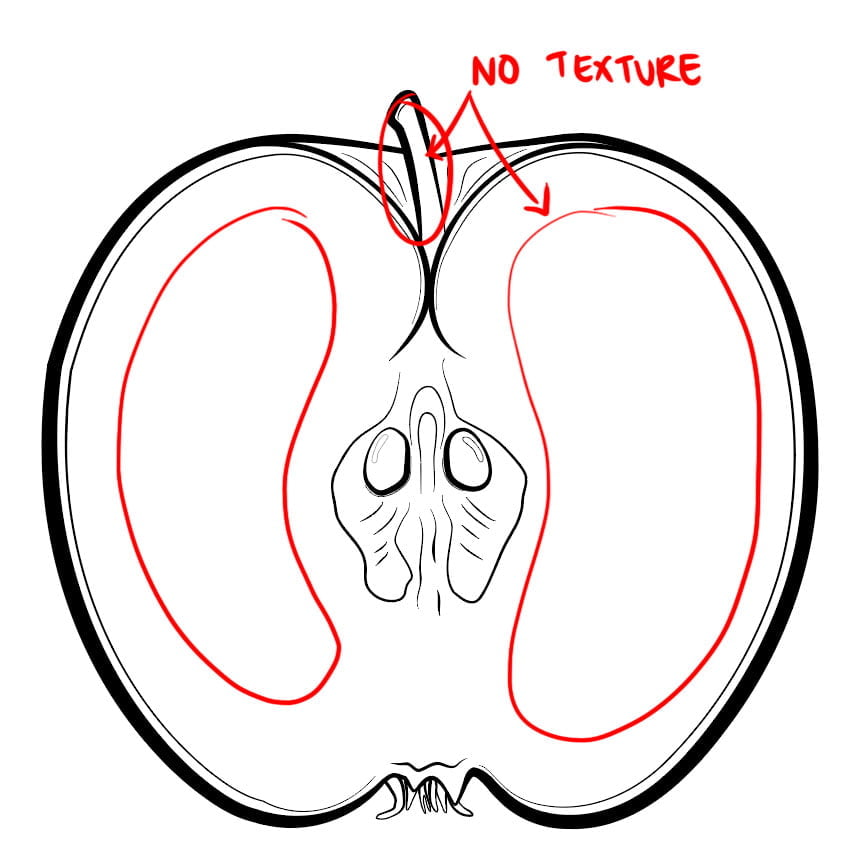
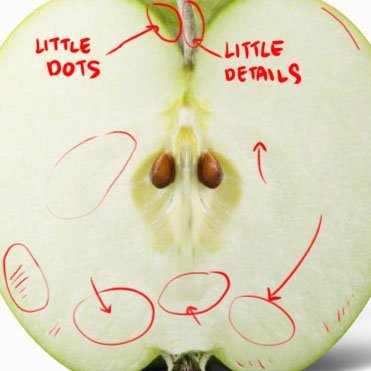
Note: Make sure your details have thinner strokes than your main outline. Or else, the overall silhouette of your object will be very weak.
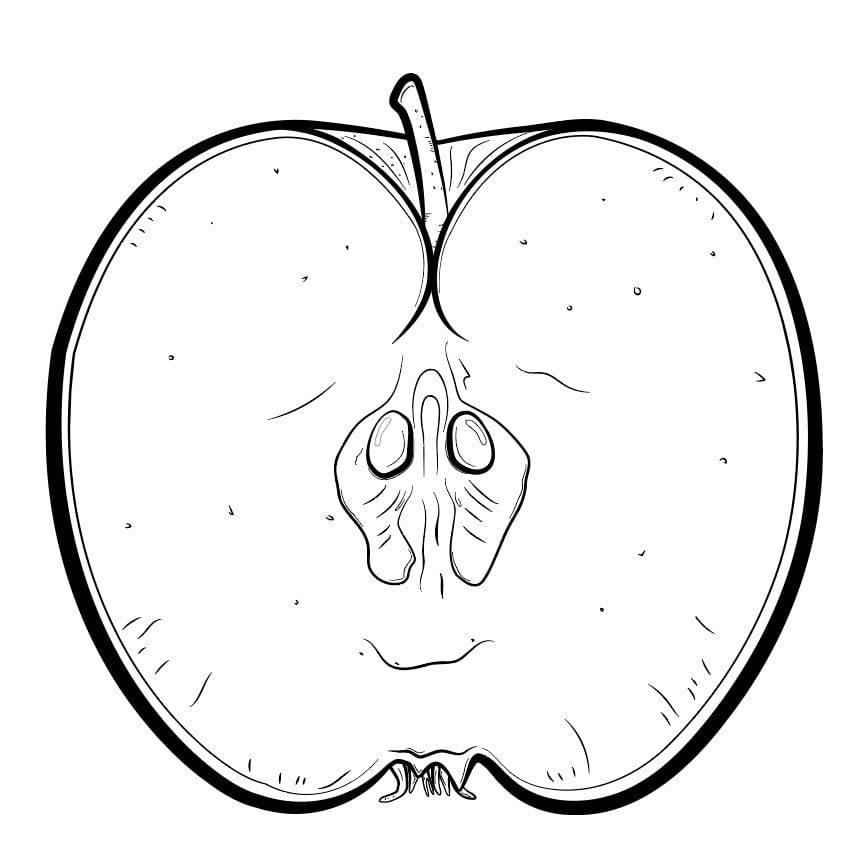
Depends on the level of details you are going for, you can add in more details as you wish, as long as the Positive & Negative space of the artwork is balanced.
Use these simple tricks to draw your details.
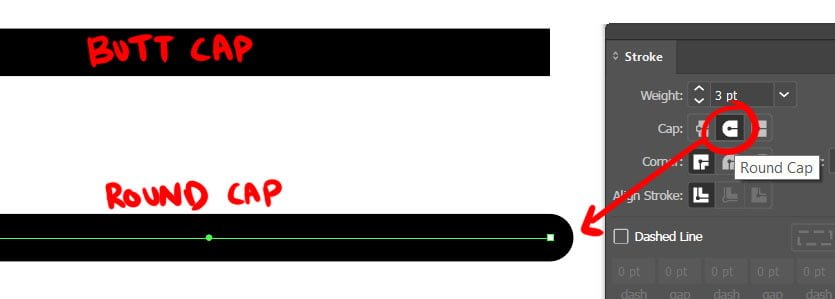
1. Use Round Cap
2. Use Hair Stroke.
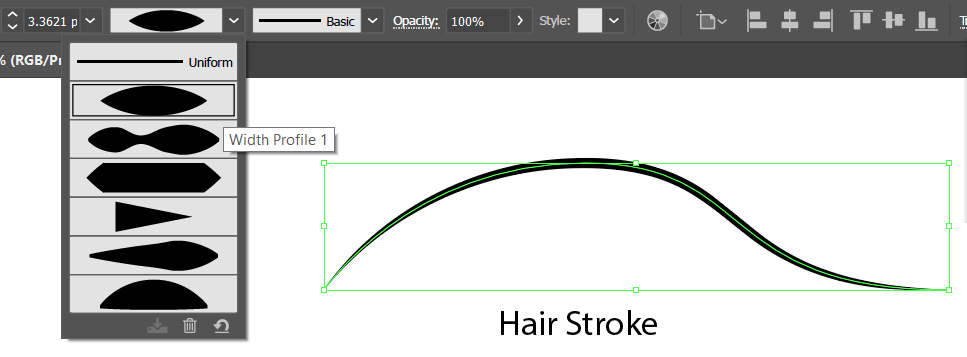
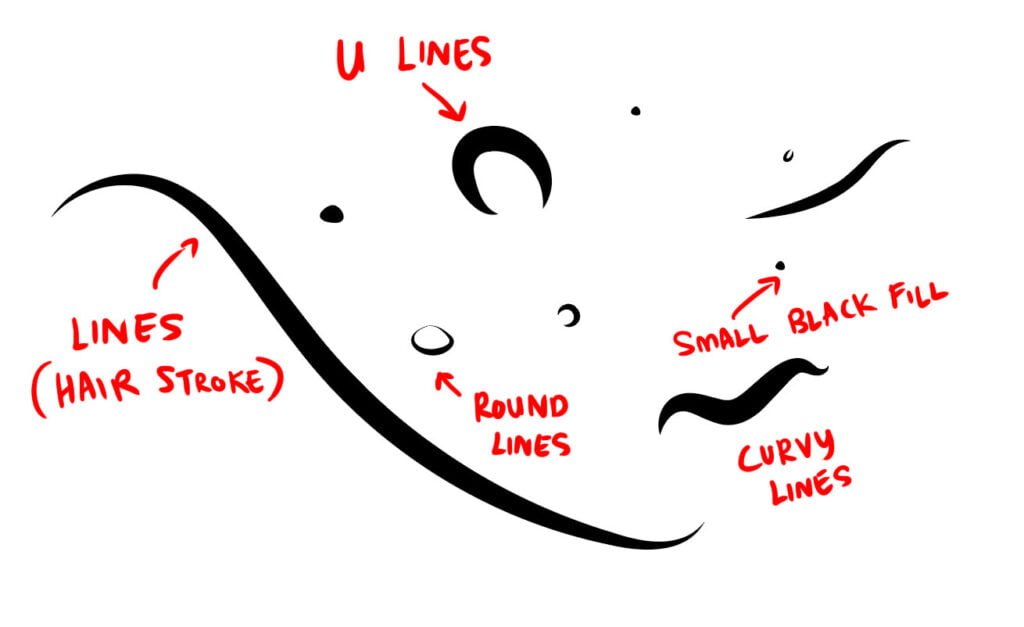
3. Use these lines to draw objects with rough or textured surface.
4. Don’t guess & draw the entire details that you can barely see.
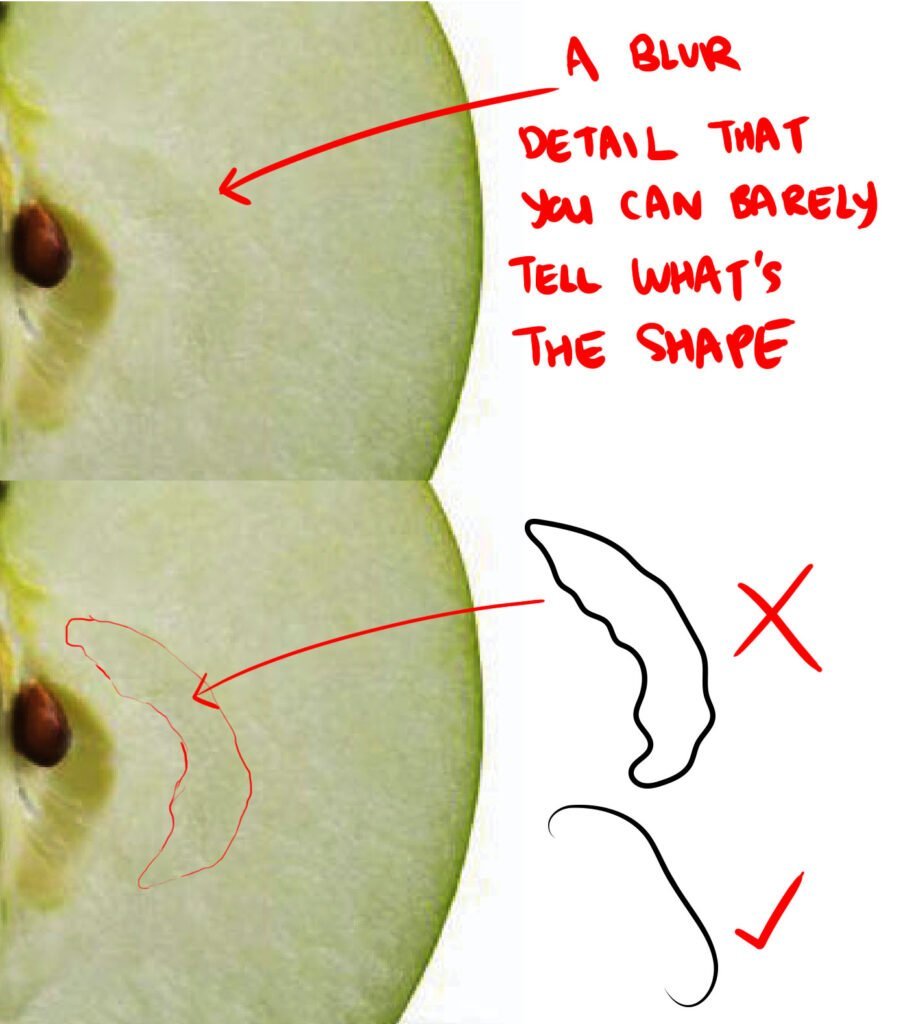
When you try to analyse the shape of certain details like this, where the details are blurry and disappear halfway, our eyes tend to mislead us and we ended up guessing and drawing the entire shape. At the end, the shape looks very random and weird.
Avoid drawing out the entire shape for details like this. Instead, just capture half of the lines using simple strokes. This way we simplified the shape and let our imaginative brain to complete the rest of the shape for us.
