Here’s a quick method to create seamless textures for your designs or 3D texturing.
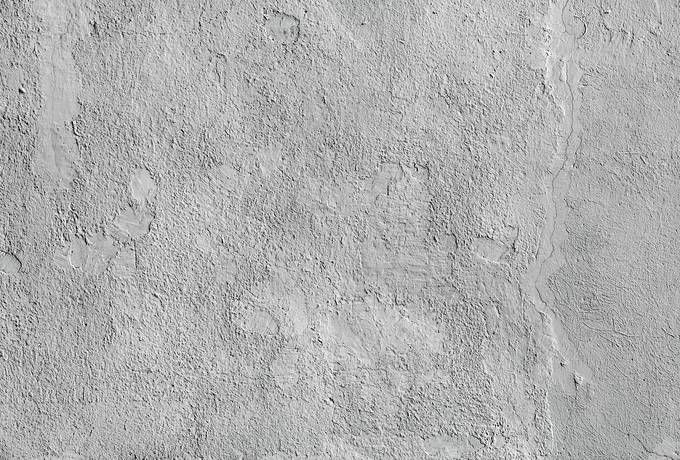
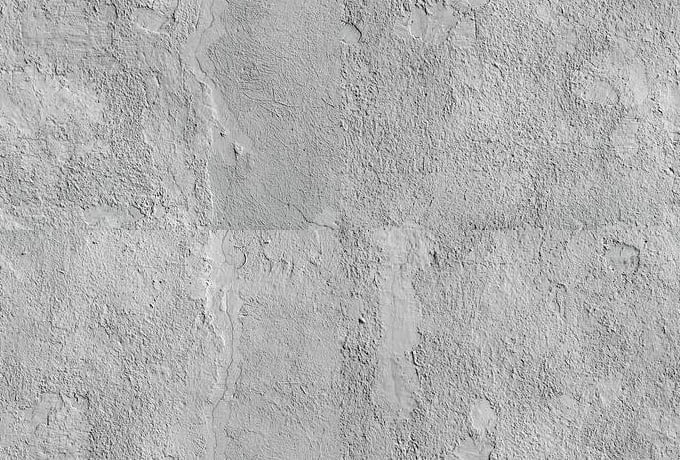
I’ll be using a 680×460 non-seamless texture for this tutorial.
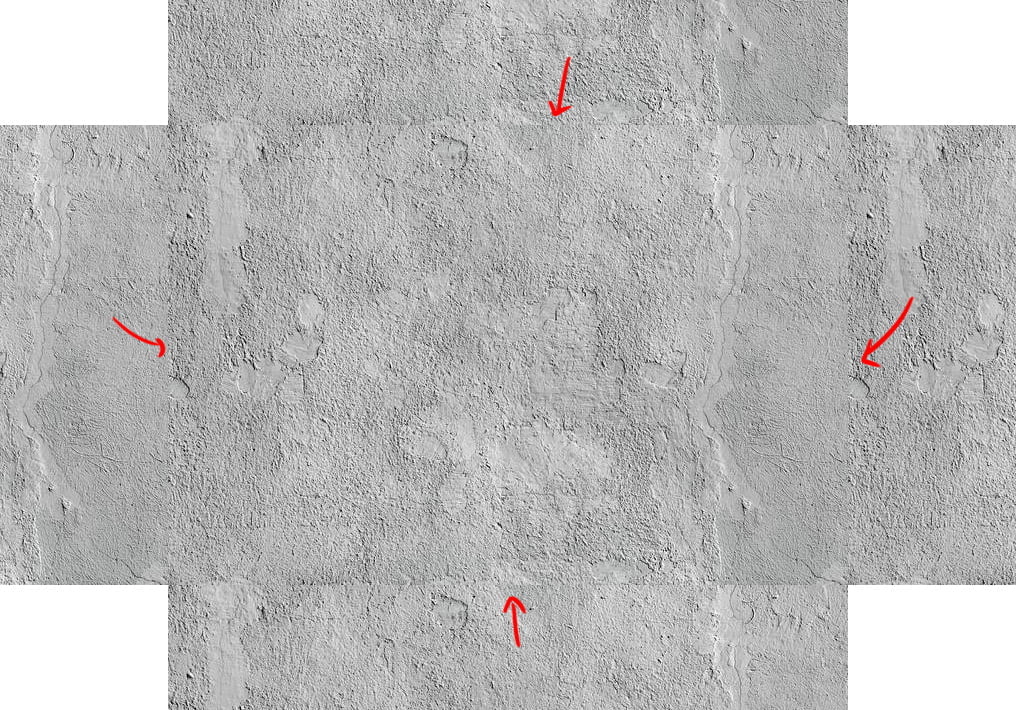
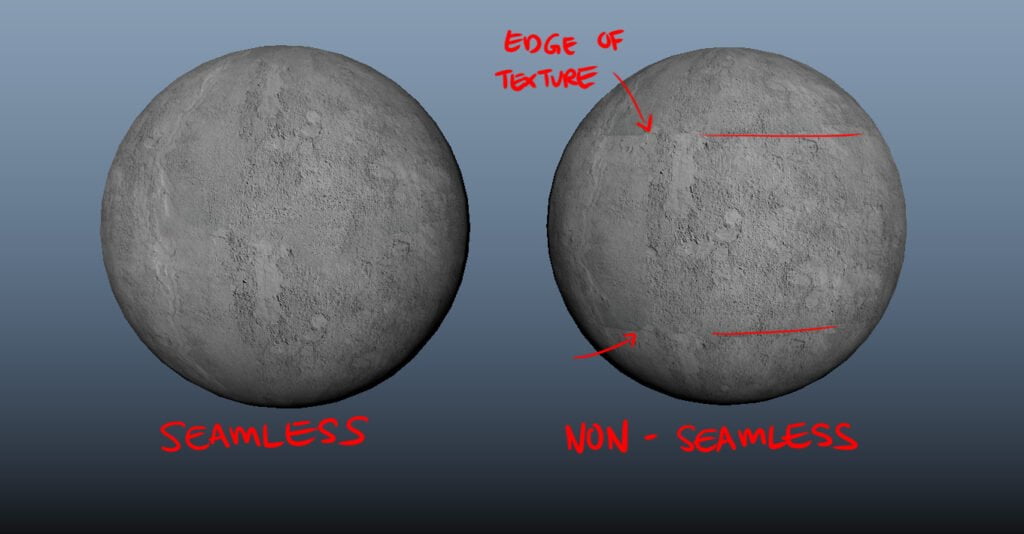
When you ‘repeat’ a non-seamless texture, you will get a visible seam or edge line because the texture at both opposite sides doesn’t blend together.
And here’s how to fix it.
Step 01. Check the size of your texture and divide it by 2.
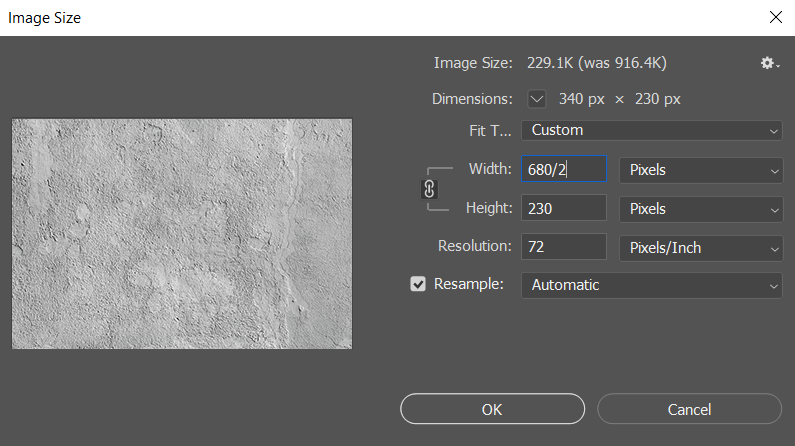
In this case, my texture size is 680×460. You easily divide the number by half by adding /2 at the back.
The new value that you need to remember now is 340×230.
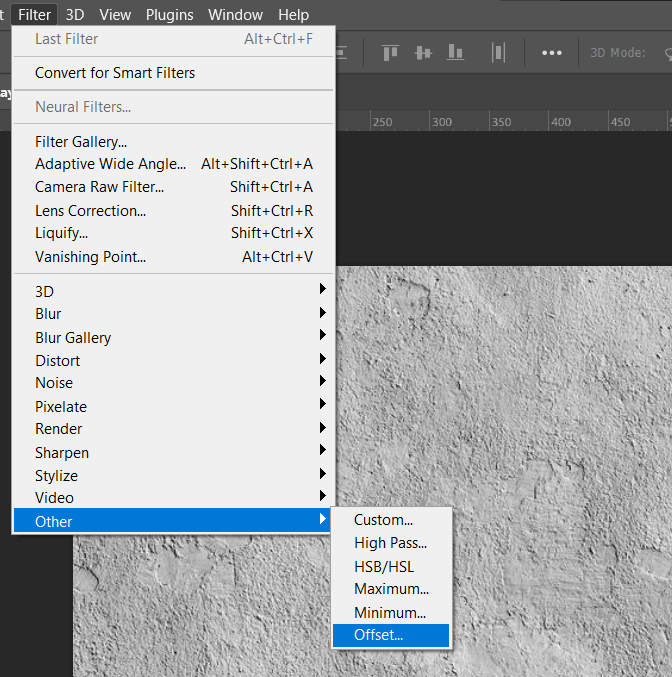
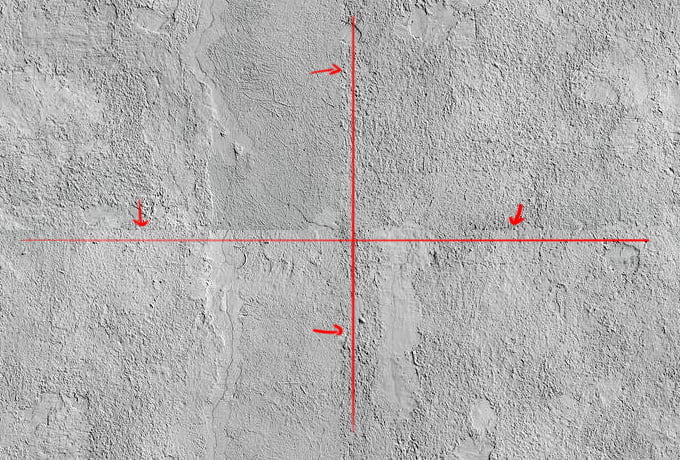
Step 02. Offset Image.
Then go to Filter > Other > Offset.
Insert the new value that you got earlier, which is 340×230, and press OK.
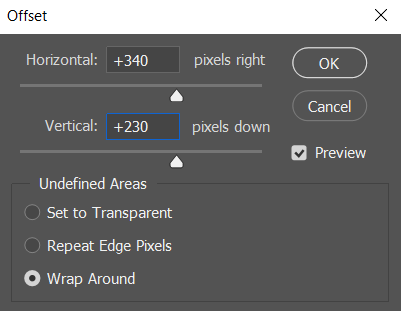
This will offset the texture by 50% horizontally and vertically.
Step 03. Use Clone Stamp Tool (S) to fix the seam.
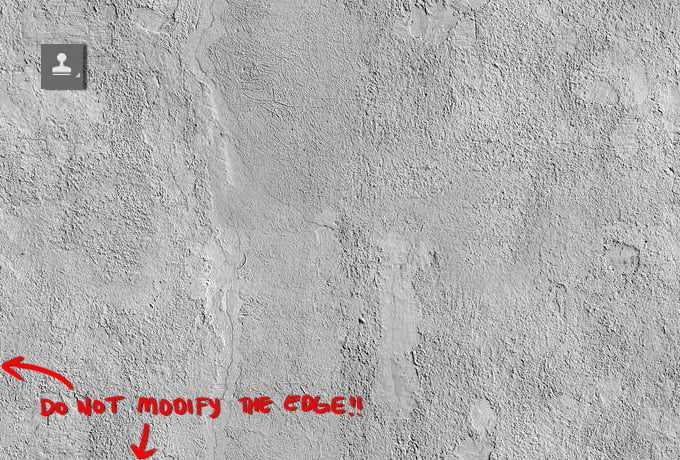
Use The Clone Stamp Tool (S) and remove the seams and lines. If you are working on texture with patterns, you might need to use other methods to fix the seams.
Note: Do not paint the edge or else it will create a new seam/edge later.
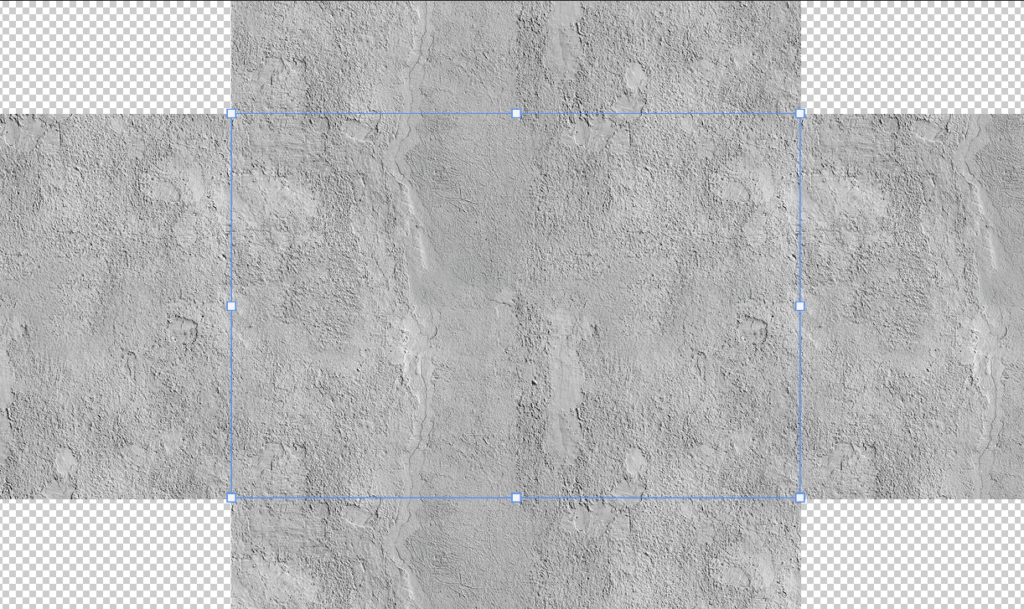
Once you’ve removed the seams using Clone Stamp Tool, you can quickly duplicate the texture to check if there’s any problem with it.
And that’s it!
This is how you can quickly create seamless textures.